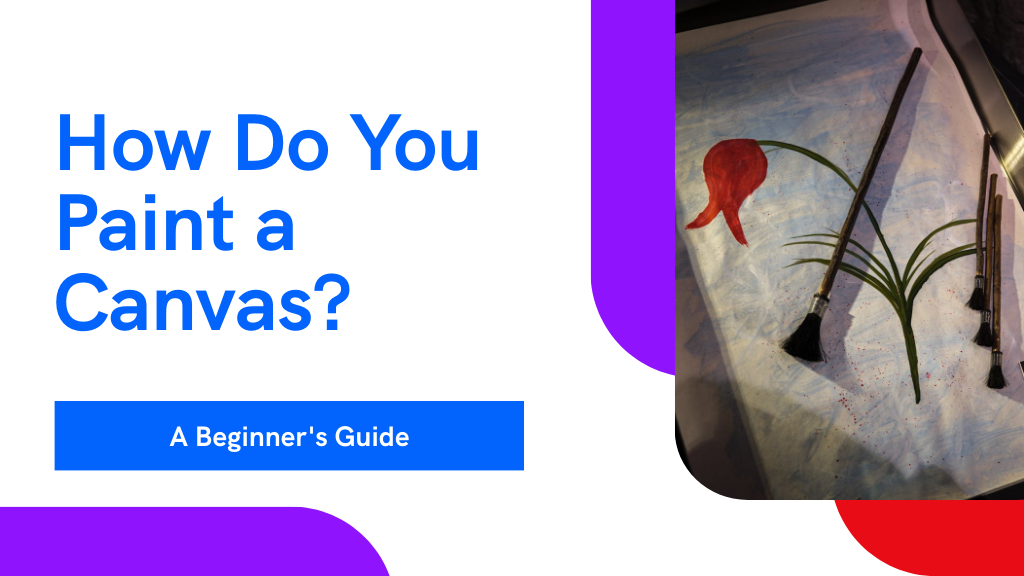
To paint a canvas, first choose the right type, ensuring it's properly primed for vivid colors. Select your paints - oil, acrylic, or watercolor - based on your desired effect and drying time preferences. Set up a well-lit workspace and organize your brushes and tools. Sketch your design lightly, then begin painting using techniques like layering and blending. Mistakes? Gently correct with a palette knife. There's much more to explore that can enhance your art further.
Choosing the Right Canvas and Preparing It for Painting
Selecting the right canvas is the first essential step in your painting journey. When you're painting on canvas for beginners, it's important to choose one that suits your medium and style.
Cotton canvases are great for starters—they're affordable and handle most types of paints well. Before you start painting, make sure your canvas is prepped. This means it should be tightly stretched and primed to prevent the paint from seeping through.
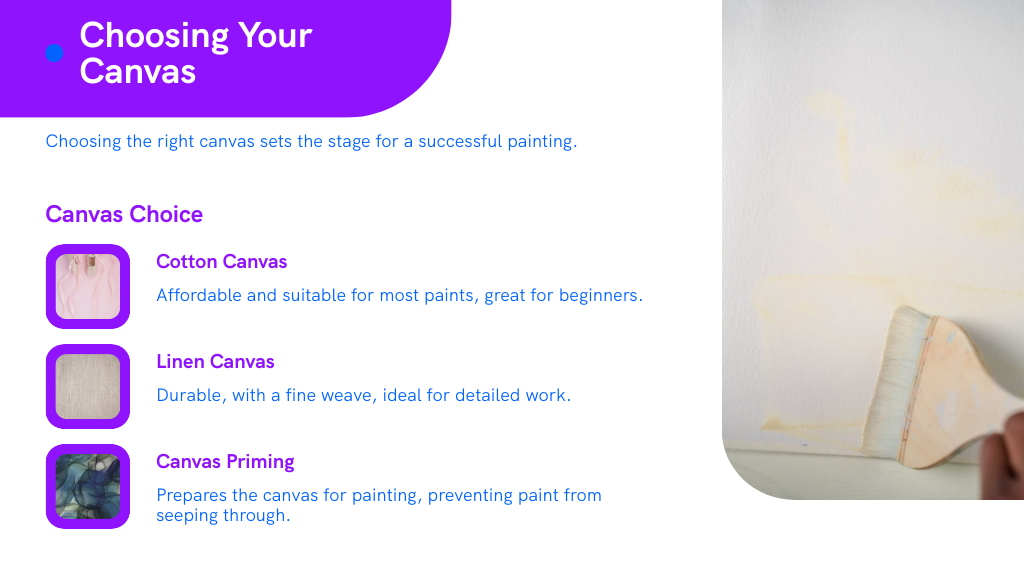
Priming also helps the colors stand out more vividly. As you prepare, think about what you're aiming to create. How do you paint a canvas effectively? It starts with a good foundation—properly preparing your canvas sets the stage for your artwork to flourish.
Selecting Your Paints: Types and Their Properties
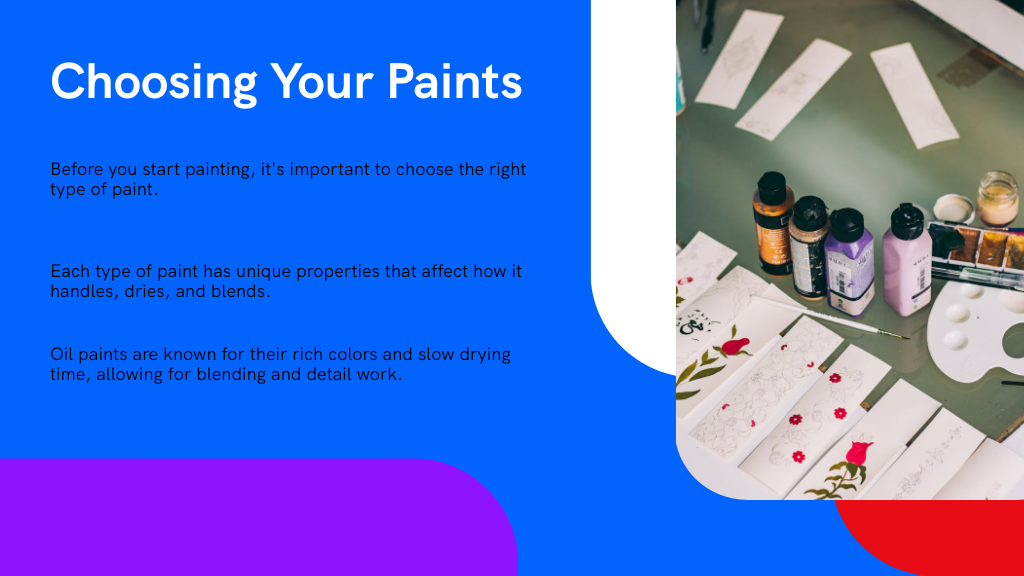
As you select your paints, it's essential to understand the different types available and their unique properties. Each type of paint, from oils to acrylics, offers distinct advantages and limitations depending on your artistic goals and techniques. We'll explore these variations to help you make an informed choice that enhances your canvas painting experience.
Types of Artistic Paints
Before diving into the painting process, it's important to choose the right type of paint, as each has unique properties and effects. You've got several options, each suited to different artistic visions and techniques.
Oil paints, revered for their rich texture and depth, offer extended drying times, allowing you to blend colors seamlessly on the canvas. Acrylics are versatile and dry quickly, making them ideal for artists who like to work rapidly or layer thickly.
Watercolors, with their translucent qualities, are perfect for creating soft, fluid compositions with subtle gradations of color. Finally, gouache is an opaque watercolor that gives a more vibrant, solid finish. Each type sets a different stage for your creative expressions.
Paint Properties Comparison
While each type of paint offers unique benefits, understanding their specific properties can help you make the best choice for your project.
Oil paints, known for their rich colors and slow drying times, allow you to blend and tweak to perfection. However, they require solvents for cleanup, which might be a drawback if you're sensitive to chemicals.
Acrylics, on the other hand, dry quickly and offer vibrant colors with easy water cleanup. Yet, their fast drying can be a challenge if you're used to working slowly.
Watercolors offer translucent effects and are great for subtle gradations, but they don't provide the opacity or texture achievable with oils or acrylics. Choosing the right paint depends on your desired outcome and working style.
Understanding Paint Brushes and Other Tools
In painting, choosing the right tools is essential for achieving your desired results. You'll find that brushes come in various shapes, sizes, and materials. For broad strokes, a flat brush is ideal, while a round brush will help you detail smaller areas with precision.
Don't overlook the importance of palette knives for mixing colors or creating textured effects. You'll also need a sturdy palette to mix your shades. Opt for a wooden or a glass palette, as they're easy to clean and durable.
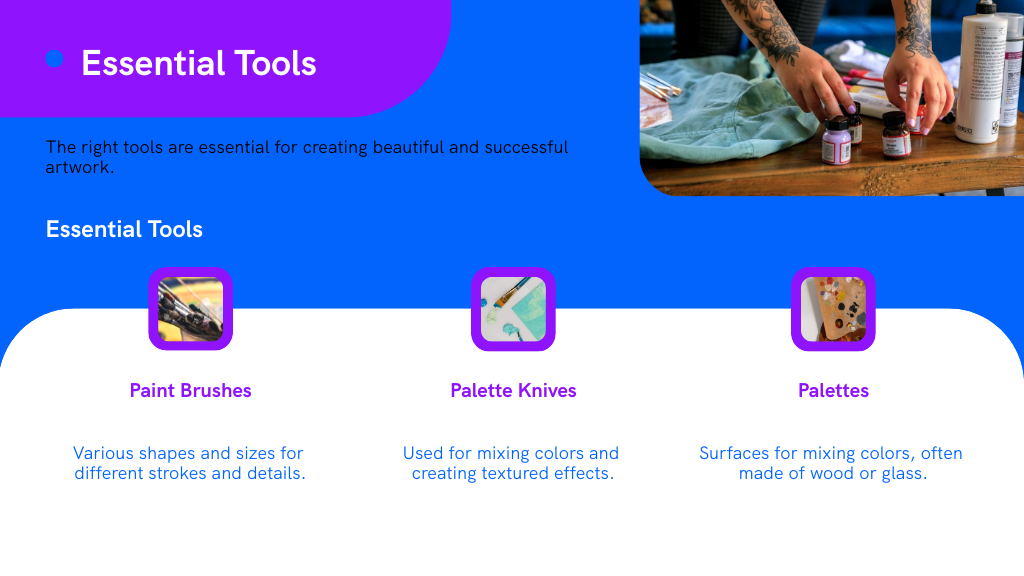
Finally, consider the cleaning tools; brush cleaners and a good rag are indispensable for maintaining your brushes in top condition.
Setting Up Your Painting Workspace
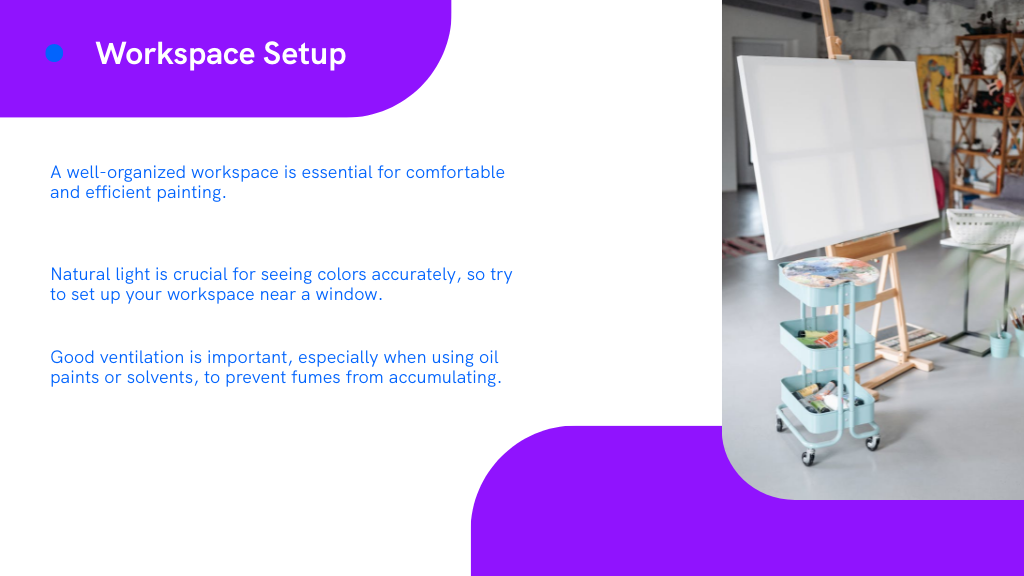
Having the right workspace is essential when you're ready to start painting. First, choose a spot with good natural light; it'll help you see the true colors while you work. A north-facing window is ideal as it provides consistent, indirect sunlight. If natural light isn't available, invest in a daylight simulation bulb.
Discover the perfect painting setup: choose a well-lit spot, ideally with a north-facing window, to see true colors clearly.
Make sure your workspace is well-ventilated, especially if you're using oil paints or solvents. This will keep the air fresh and reduce the risk of inhaling fumes.
Keep your painting tools within easy reach. Organize brushes, paints, and canvases so you don't have to search for them.
A clean, spacious table and a comfortable chair will also make long painting sessions more enjoyable. Finally, keep a rag or paper towels handy for quick cleanups.
Basic Painting Techniques to Get Started
Now that your workspace is set up, let's explore some basic painting techniques to help you begin your artistic journey.
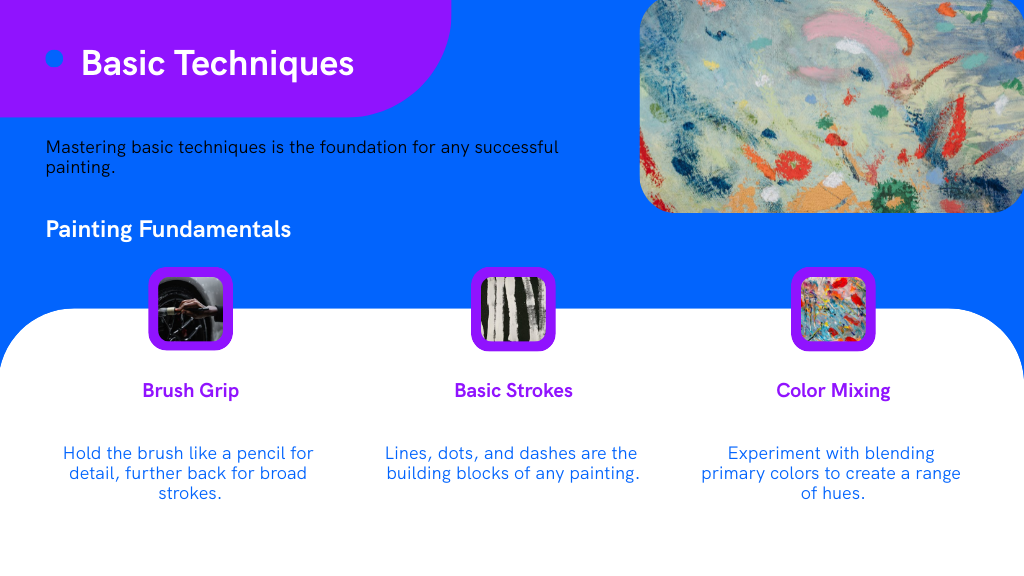
First, you'll want to master the art of holding your brush. Grip it like a pencil for detailed work and further back for broader strokes. Start with simple strokes: lines, dots, and dashes. These are the building blocks of any painting.
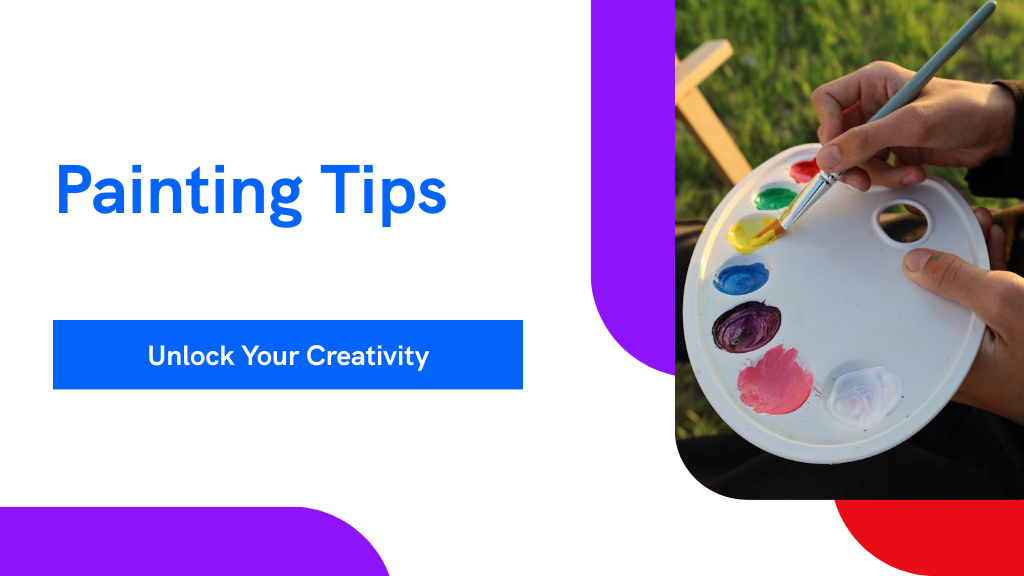
Experiment with mixing colors on a palette. Understand how colors blend to expand your options—mix primaries to create secondary hues.
Then, apply paint to the canvas using a flat wash; this involves brushing a single color across the entire canvas to set a uniform base. Practice these techniques regularly, and you'll see your skills grow, paving the way for more complex methods.
Exploring Advanced Painting Methods and Styles
Now that you've mastered the basics, it's time to enhance your skills with advanced painting methods. You'll explore layering techniques that add depth and complexity to your work and experiment with abstract painting approaches to express your unique artistic vision.
These methods won't only challenge you but also expand your ability to convey emotions and narratives through your art.
Layering Techniques Explored
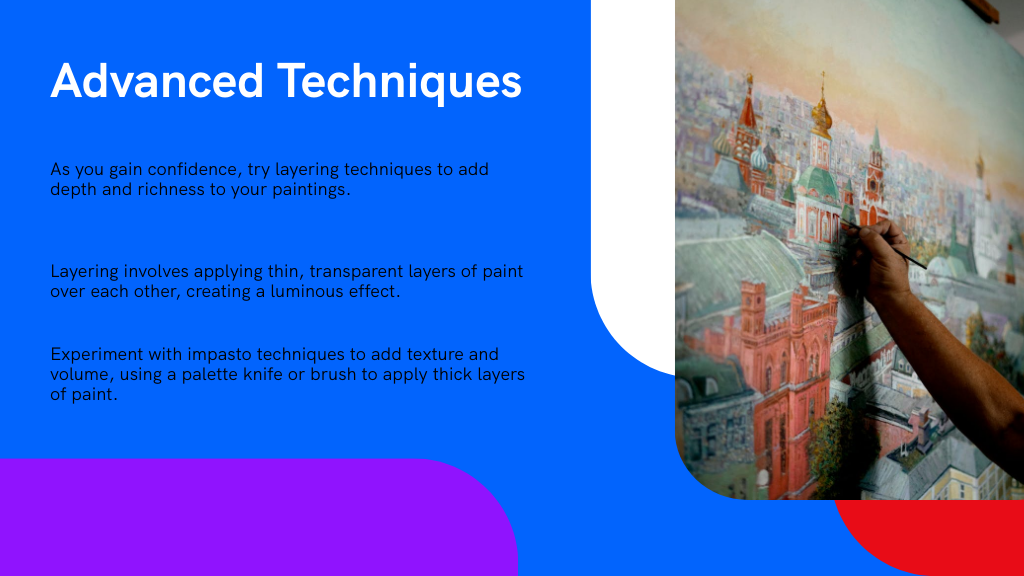
While exploring advanced painting methods, it's crucial to master layering techniques, which can transform your artwork from flat to phenomenally three-dimensional.
Start with a thin, dry base layer, allowing each subsequent layer to add depth and richness without muddying colors. You'll find glazing with a transparent layer particularly effective in achieving luminosity, especially in areas you want to highlight.
Experiment with impasto techniques to add texture and volume; thick layers of paint applied with a knife or brush create a tactile surface that catches light beautifully.
Don't rush the drying between layers; patience guarantees that each layer adheres properly without mixing unintentionally.
Abstract Painting Approaches
As you explore abstract painting, remember that conventional rules don't apply; it's all about expressing emotions and ideas through colors, shapes, and forms.
Immerse yourself in techniques like dripping, where you'll let paint flow freely across the canvas, creating organic, unpredictable patterns. Experiment with textures by applying thick layers of paint with a palette knife, or incorporate mixed media elements to add depth and intrigue.
Think about the emotional impact of your color choices. Warm colors can evoke feelings of passion and energy, while cool tones might suggest calm and serenity.
Let your instincts guide you. Abstract art isn't about perfect images; it's about the movement, the mood, and the moment. Capture that in your work, and you'll find your unique voice in the vibrant world of abstract painting.
Tips for Correcting Mistakes and Making Adjustments
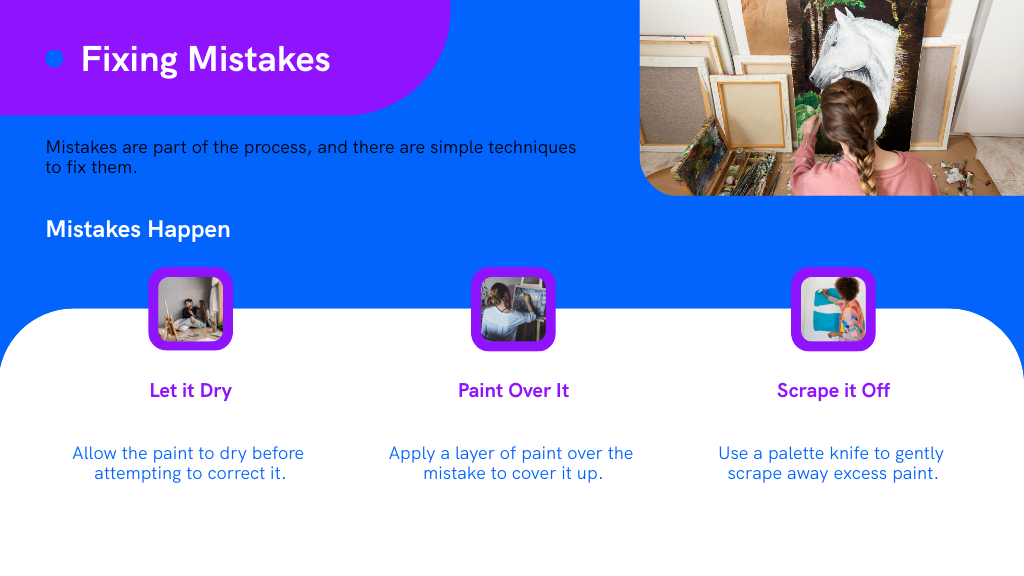
If you make a mistake on your canvas, don't worry; corrections are often part of the creative process. First, take a step back and assess what didn't go as planned. Sometimes, you'll find that what seemed like a blunder actually adds character to your work.
If you're not convinced, let the paint dry and then paint over the area. Acrylics are forgiving for this technique since they dry quickly.
For oil paints, you might need to scrape off excess paint with a palette knife before applying a corrective layer. Always keep a clean brush handy for blending corrected areas seamlessly into the surrounding paint.
Maintaining Your Painting and Tools Post-Project
After you've corrected any mistakes and your painting is complete, it's important to focus on the upkeep of your artwork and the tools you used.
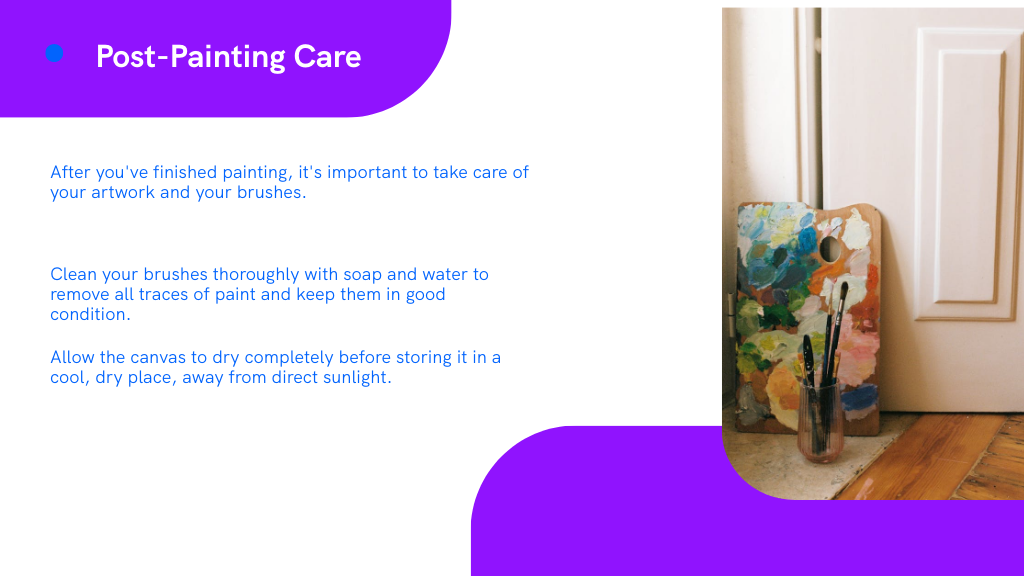
Start by properly cleaning your brushes with a gentle soap and warm water, making certain all paint residue is removed. Don't forget to reshape the bristles and allow them to dry horizontally to avoid damage.
Ensure brushes are cleaned with gentle soap and warm water, reshaped, and dried horizontally to prevent damage.
For your canvas, make sure it's completely dry before storing. Hang or store it in a dry, cool place away from direct sunlight to prevent fading. Covering the painting with a clean, light cloth can protect it from dust and other contaminants. Regularly check your stored paintings and tools to make sure they remain in good condition, ready for your next creative project.
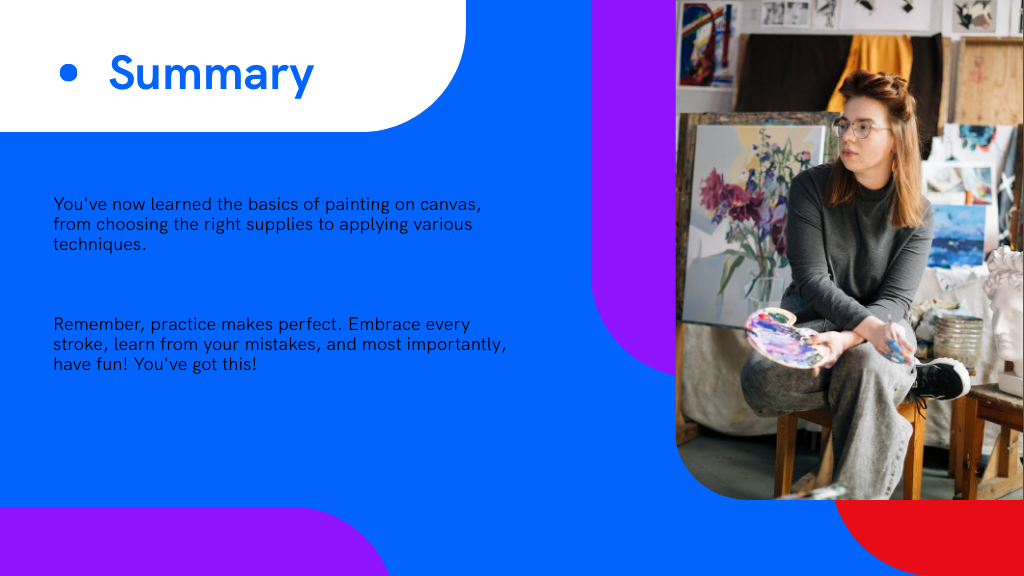
Conclusion
As you've journeyed through the vibrant world of canvas painting, remember that each stroke is a stepping stone to mastering this art. Keep your brushes dancing and your palette colorful. If you stumble along the way, remember, even the Mona Lisa started with a single brushstroke. Cherish each moment at your easel, for in the world of art, every mistake is just the draft of your next masterpiece. Happy painting!